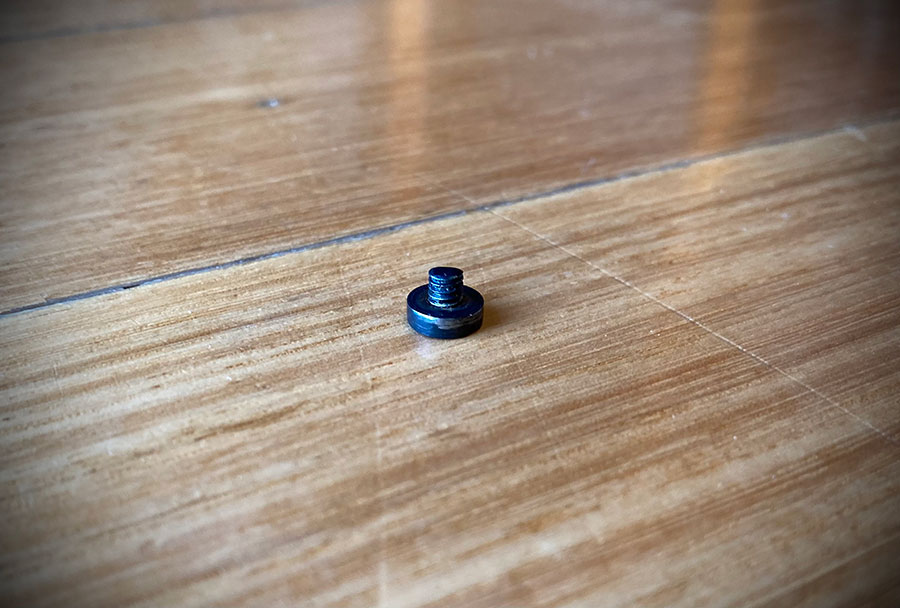
Today I needed to pull down a bolt for complete cleaning after picking up a Model 1886 Steyr Kropatschek Short Rifle a few months ago. The rest of the rifle needs the same treatment but this was the starting point. Hopefully these directions will help others in the future too. Please note that this will also work for the other Model 1886 Kropatschek variants such as the carbine and much more common infantry rifle.
Step 1 – Removing the bolt from the rifle
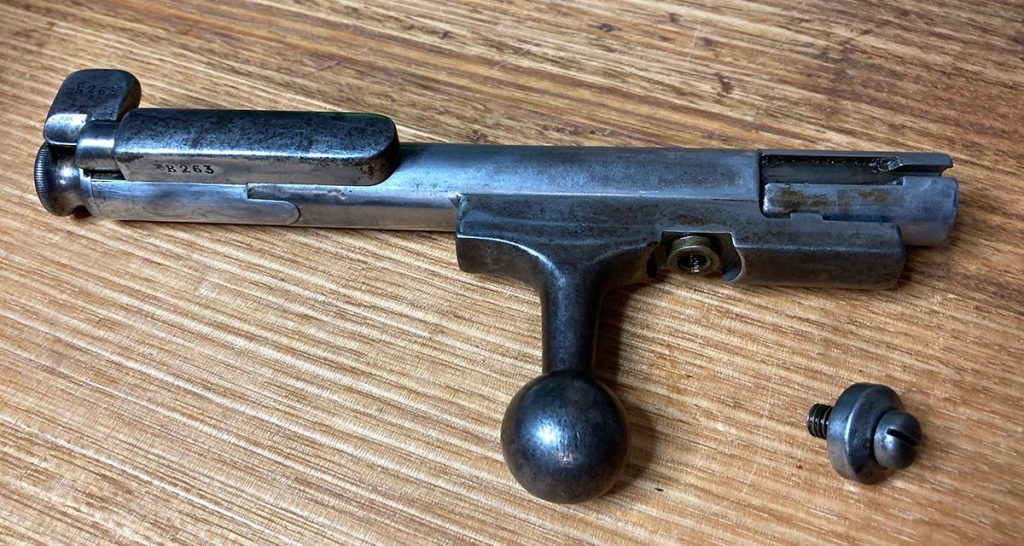
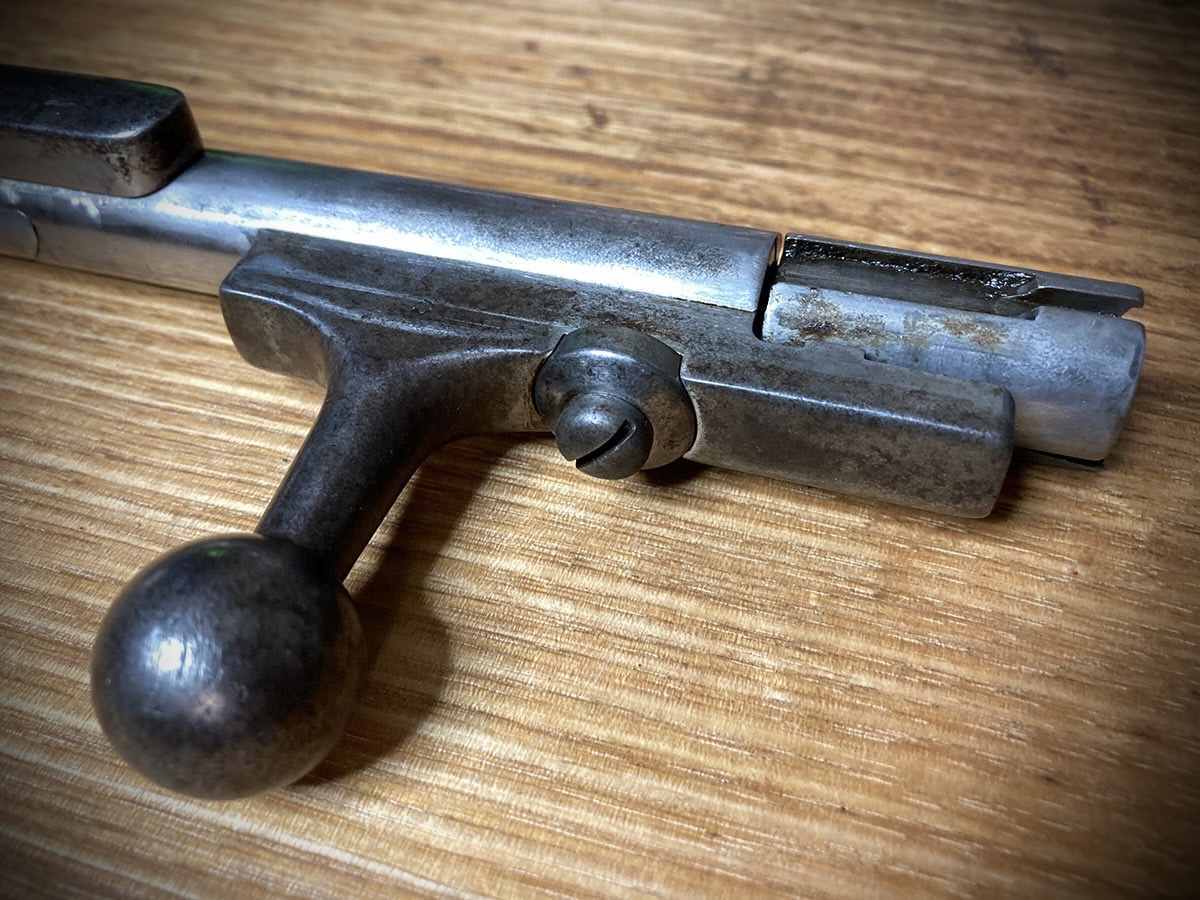
First thing you’ll need to do is remove the screw and washer on top of the bolt near the handle. This is required to be able to remove the bolt from the rifle. BE CAREFUL once the bolt is out of the rifle as it will be cocked. Holding the front and back firmly, gently twist the two bolt halves to uncock it while keeping your fingers away from the area where the two halves join up towards the rear.
Step 2 – Remove the bolt head from the body
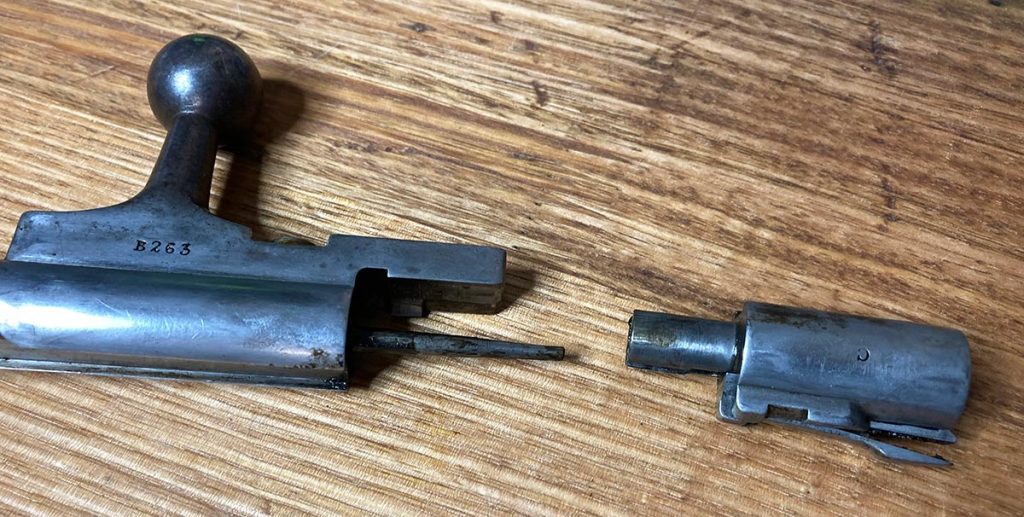
At this point, the bolt head should now seperate from the rest of the bolt.
Step 3 – Remove the extractor from the bolt head
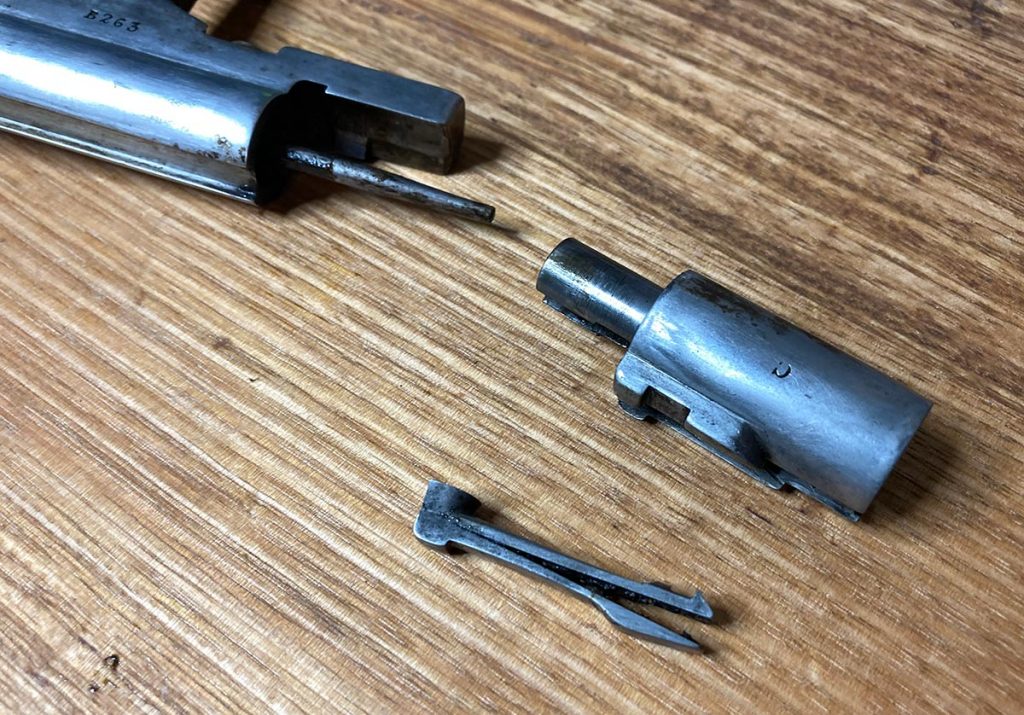
Now gently remove the extractor from the bolt head (if it hasn’t already fallen off) and don’t do a “hulk smash” job if it’s stuck. Be gentle… you don’t want to damage it. And don’t lose it!
Step 4 – Removing the end nut
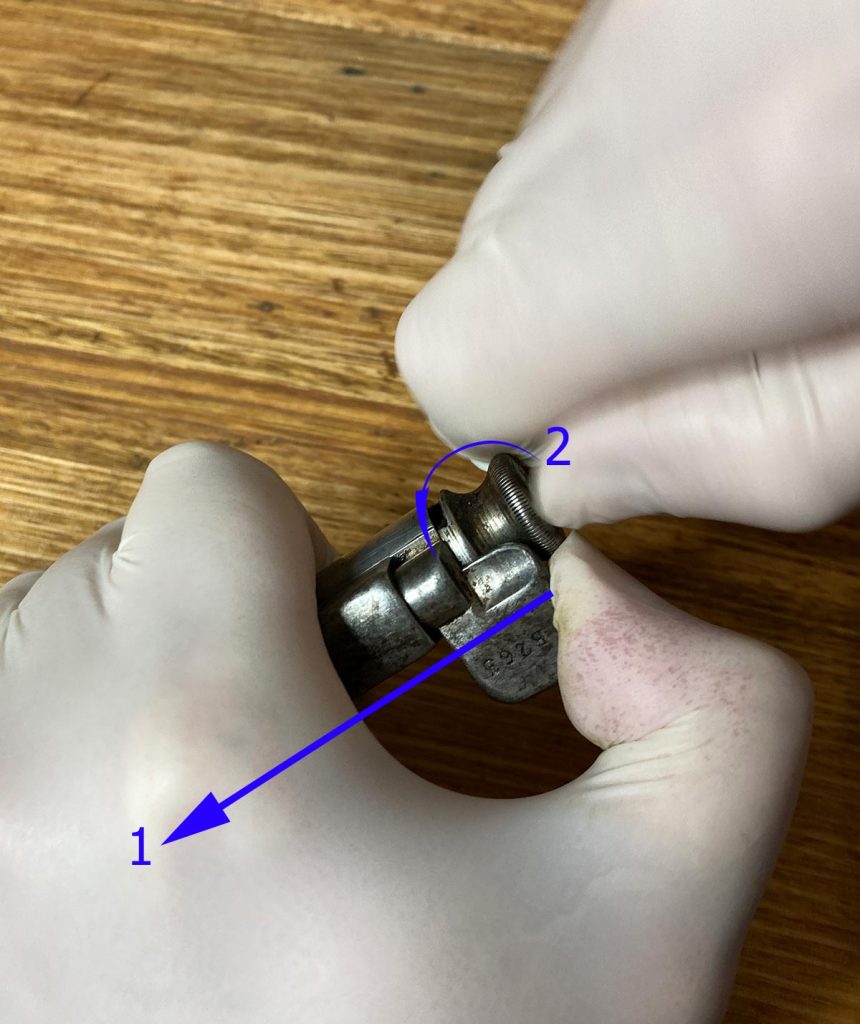
This is the trickiest part of a Kropatschek bolt disassembly. You need to unscrew the end nut right at the back of the bolt but it’s not possible without putting pressure and pushing down on the safety lever. In the photo above you can see that quite firm pressure needs to be put on the safety by pushing down in the direction towards the front of the bolt (1). When doing this, it allows a little locking surface in the nut to clear the safety so you can then unscrew the nut (2). It’ll usually take 2-3 turns before you can release the pressure on the safety and continue to unscrew.
One point to also keep in mind when doing this is that both the safety and the firing pin are under spring tension. Mine was VERY gummed up with 130 years of oil and grime so was pretty fixed in place. You do need to be careful when the nut comes off as the springs can shoot parts everywhere if you don’t slowly release.
Step 5 – Remove the nut
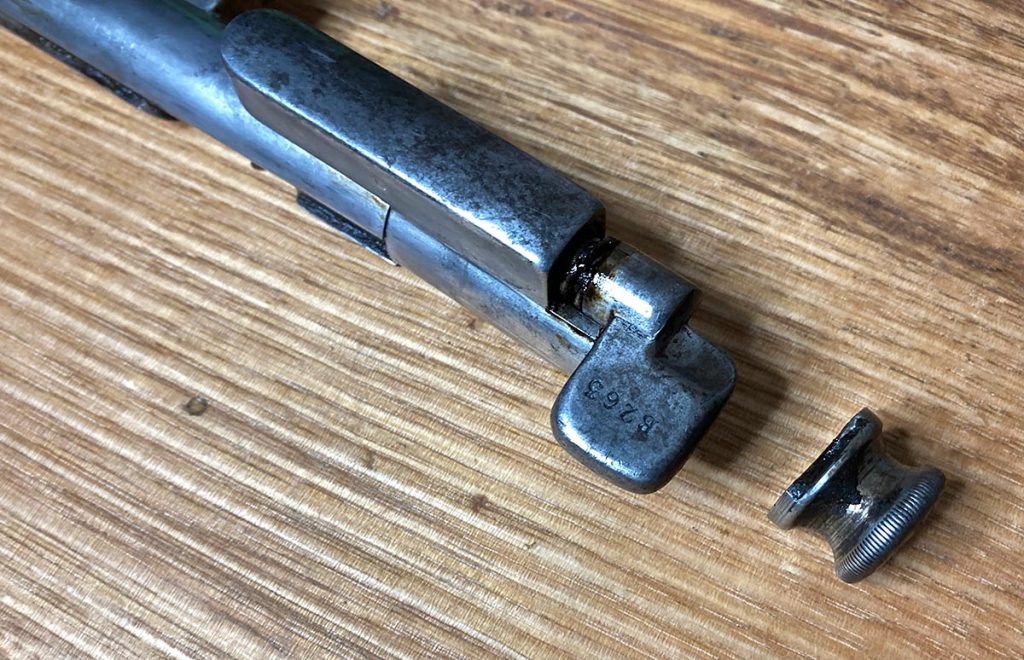
Pretty self explanatory – at this point the nut should come off and the safety and internal firing pin will be lose.
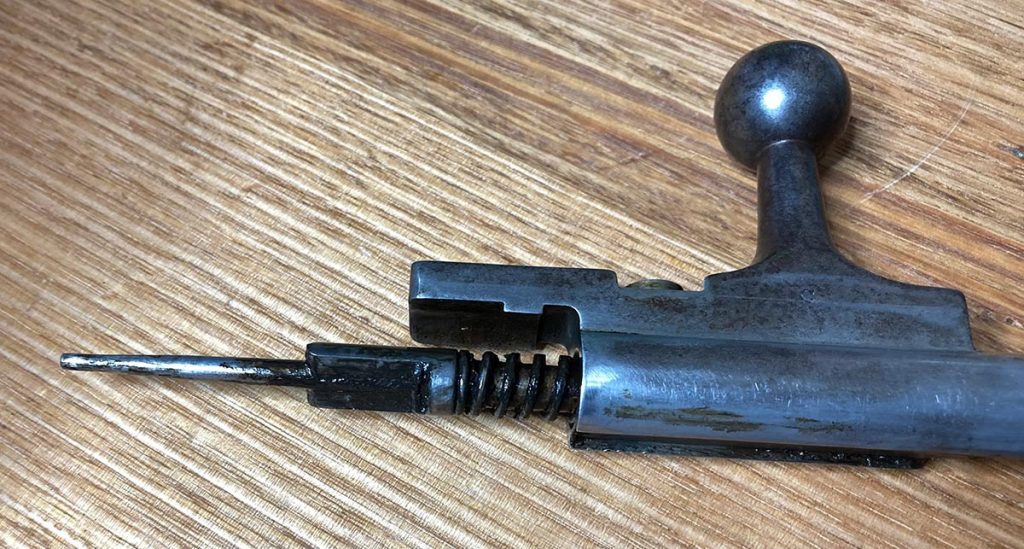
At this point, you’ll see the firing pin is now protruding more and the main spring is also now clearly visible.
Step 6 – Remove rear part of the bolt
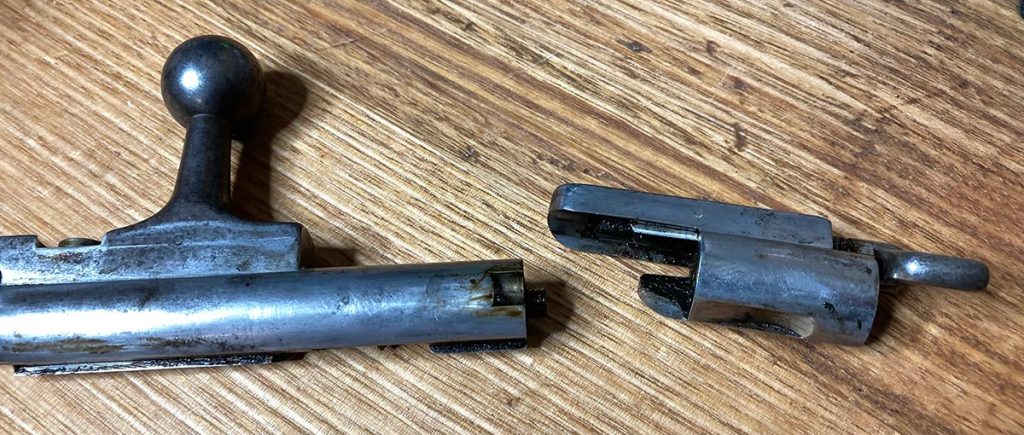
You should now be able to separate the rear part of the bolt from the main bolt body.
Step 7 – Remove the safety lever
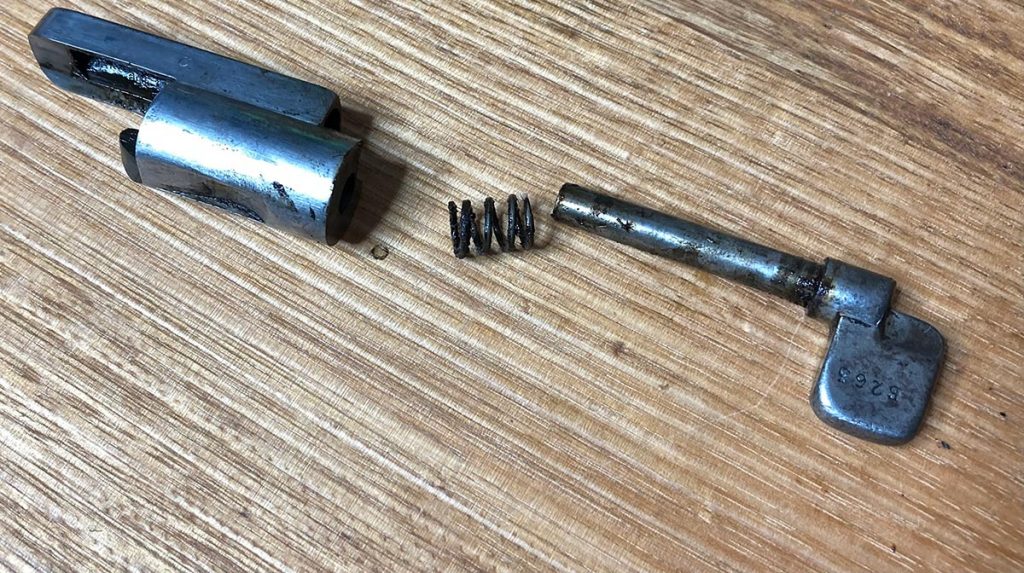
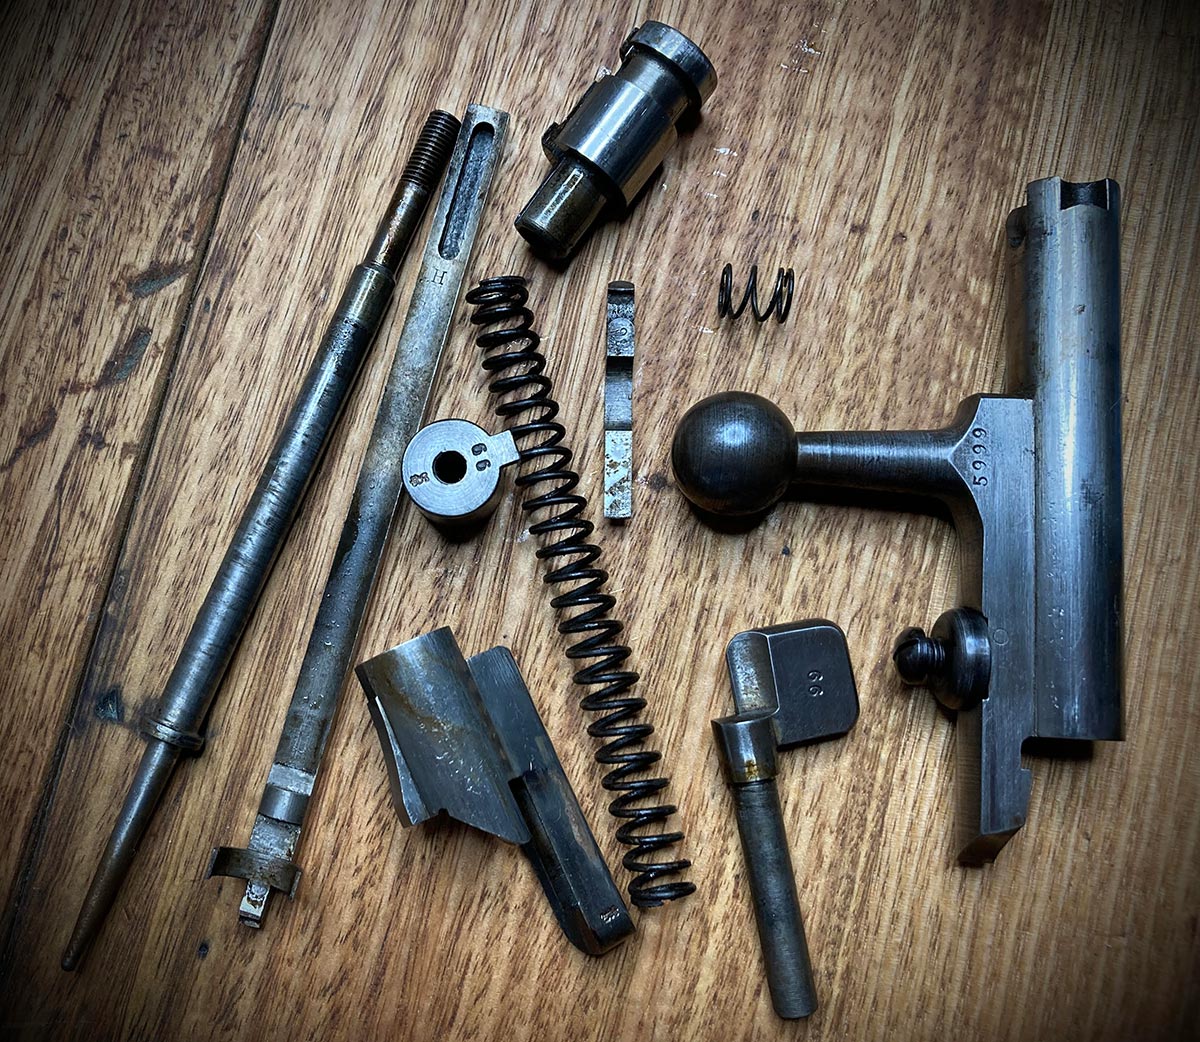
You can remove the safety lever from the rear part of the bolt. Keep in mind there’s a small spring in there that you don’t want to lose.
Step 8 – Remove the firing pin and main spring
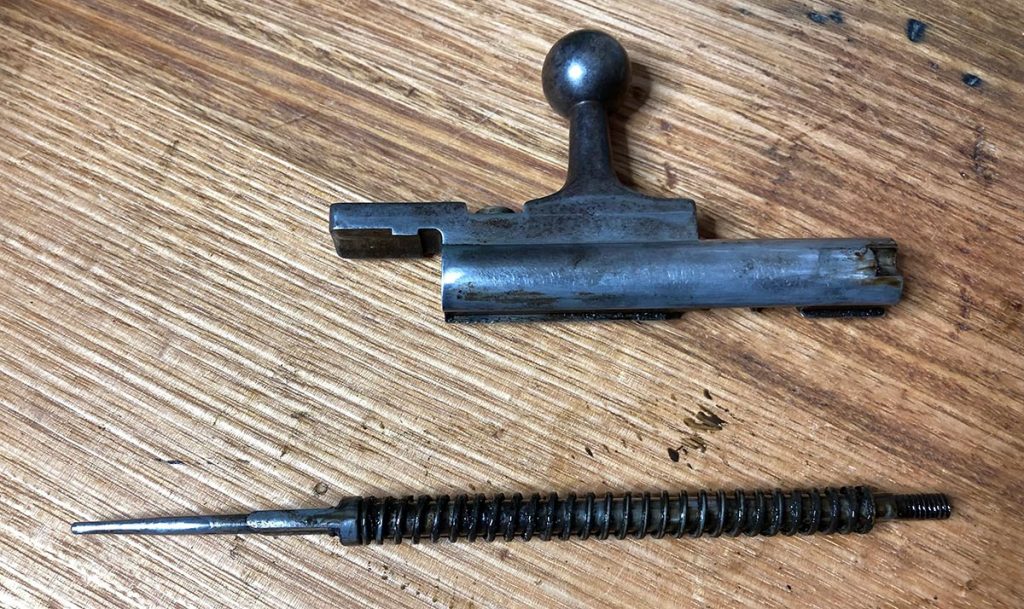
The firing pin along with the main spring should now easily slide out from the main bolt body.
Step 9 – Remove the main spring
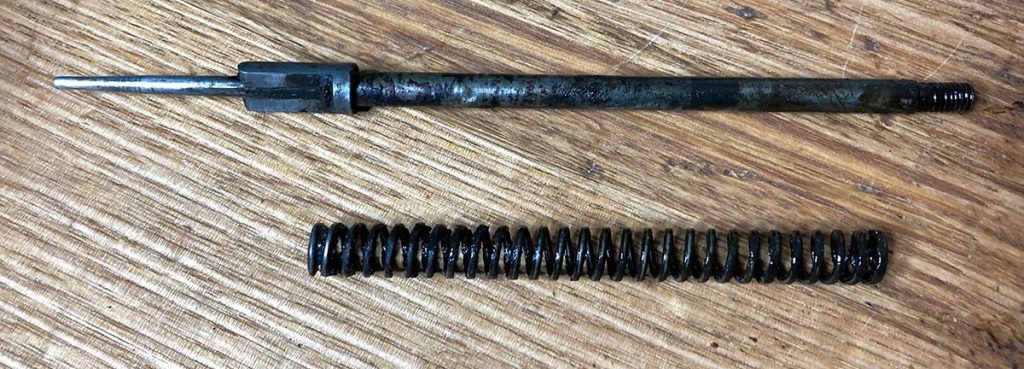
At this point the main spring should just slide off the firing pin and you’re done. From here, the parts can all be cleaned, reoiled and then reassembled in the reverse order presented above.

